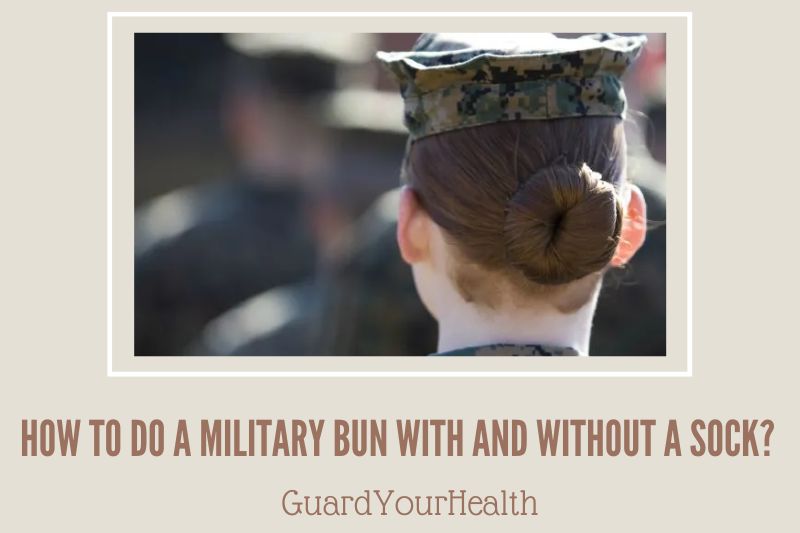
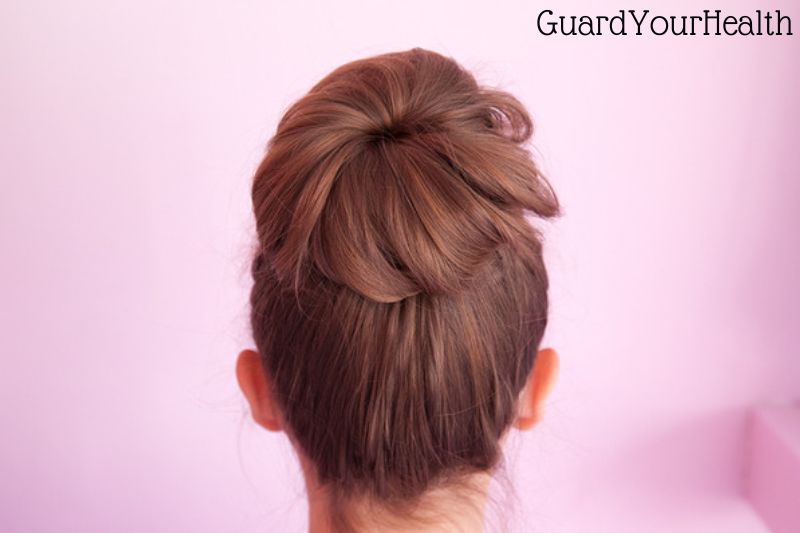
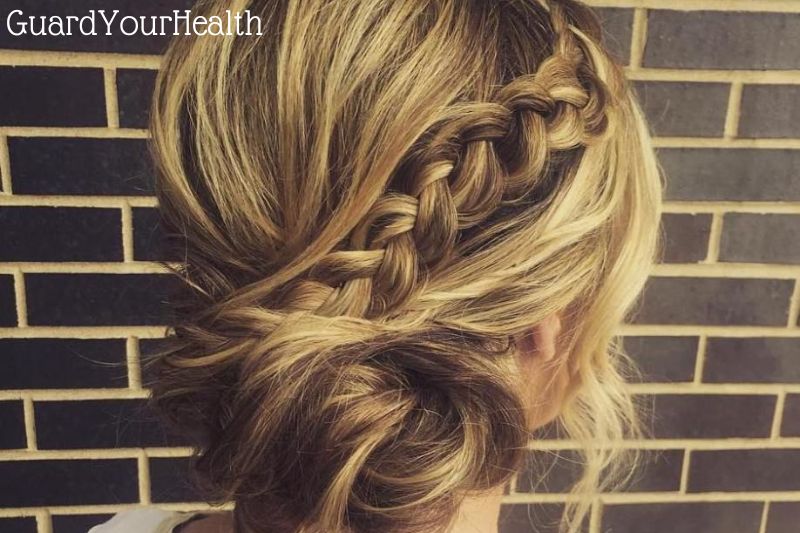
A military bun is a hairstyle that women in the military wear. It is a very simple hairstyle that can be done in a matter of minutes. The hair is pulled back into a tight ponytail and then wrapped around itself to form a bun. This hairstyle is very practical for women in the military as it keeps the hair out of the face and away from the eyes.
In this blog post, GuardYourHealth will guide you on how to do a military bun with and without a sock.
Preparing Your Hair in Advance
The key to success, like many other things, is preparation. The preparatory stages are identical regardless of how you make a military bun. Here are some methods for preparing your hair to create the ideal bun.
Brush It, Baby
To begin, brush your hair until it is detangled and silky. If you have curly or wavy hair, it is very worthwhile to take a few minutes to accomplish this. Before brushing your hair, ensure it is completely dry to prevent damage.
Time To Get Wet
Before you begin, you can shampoo and condition your hair if necessary. If not, merely wetting your hair will do the trick.
Drying Period
If you’ve just washed your hair, towel-dry it until it’s barely moist. If you attempt to build a bun with wet hair, you’ll probably end up with a soggy mess. Don’t wait too long to prevent your hair from getting too dry.
Comb It
To remove any lumps, you must now comb your hair. Utilizing your comb, smoothly comb through your hair after applying a dime-sized amount of hair gel. As many times as necessary, repeat this process.
How to Make a Military Bun with a Sock(Short Hair)
The term “sock bun” is frequently used to describe this. Short hair is especially well suited because the sock offers support. However, even for long hair, it has all the characteristics of a superb military bun: it’s sleek, polished, simple to make, and it remains in place. You also don’t require a lot of expensive hair styling equipment. What more do you need?
the following information:
- One set of socks
- One set of scissors
- Comb or brush for hair
- Two hair ties with elastic
- Some bobby pins
Step 1: Preparing the Sock
You will begin by utilizing the socks. You should wear long socks to match your length of hair. On the other side, if your hair is short, you should wear short socks. I’ve always worn the black dress socks the military provided. They are thick enough to do the job yet still elastic.
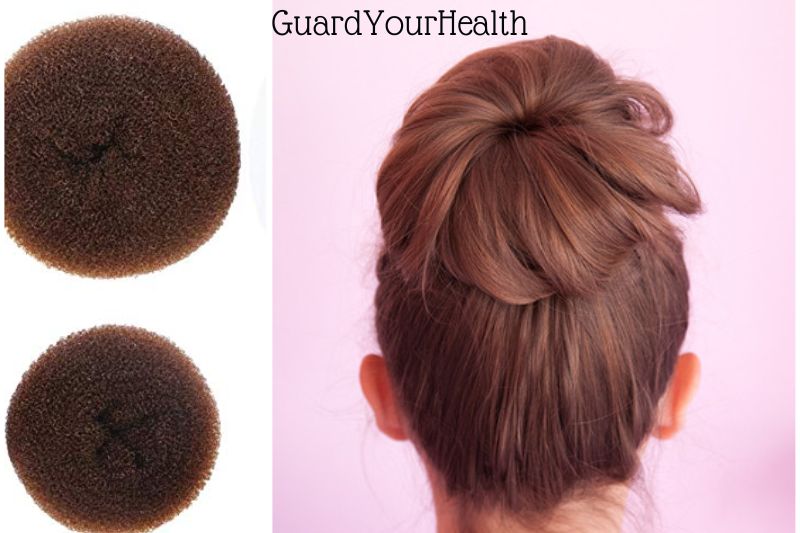
But you can also get pre-made sock buns offline or online. You need not worry about emptying your wallet because they are reasonably priced. Additionally, try to select socks that match the hue of your hair. This will prevent any exposed areas from standing out too much, even if you have thin hair.
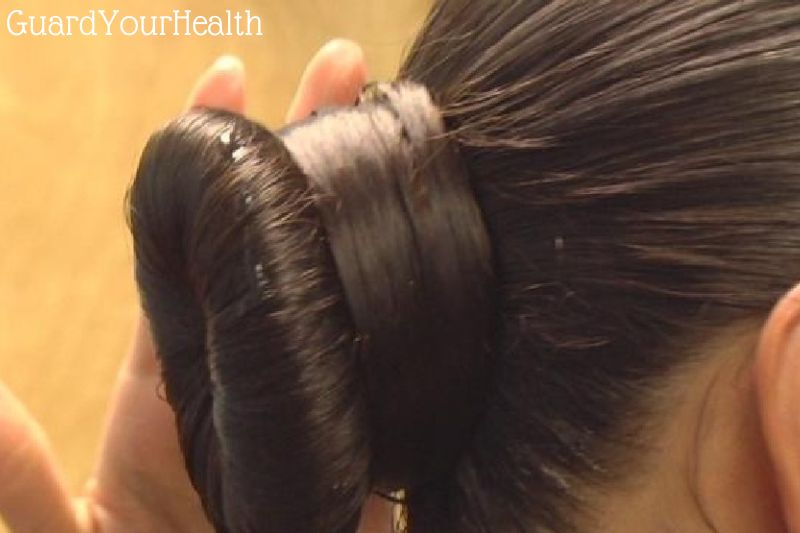
First, put one of the socks on. Next, roll it downward toward your ankle, starting at the top. Keep the sock curled up as you take it off your foot. Cut the sock’s toe off using the pair of scissors you have ready. Roll the sock until it forms a full doughnut shape to finish.
You should prepare two of these sock donuts, so you always have one on hand in case the other breaks. Additionally, you won’t have any extra socks after doing it this way.
Step 2: Hair Preparation
You’ll work on your hair next. Do this to part your hair if you wish to. After that, pull your hair back into a ponytail using an elastic hair tie. Verify that you completed this tightly. Around the nape of your neck, the hair should fall. You should wear a hat or cap, so it shouldn’t be too high.
Use bobby pins to keep your bangs in place if you have them. Also, tuck them away with bobby pins if, like me, you have a lot of baby hair that flies off loosely. Apply gel or hairspray to the hair that is not in the ponytail to smooth it out.
Step 3: Creating the Bun
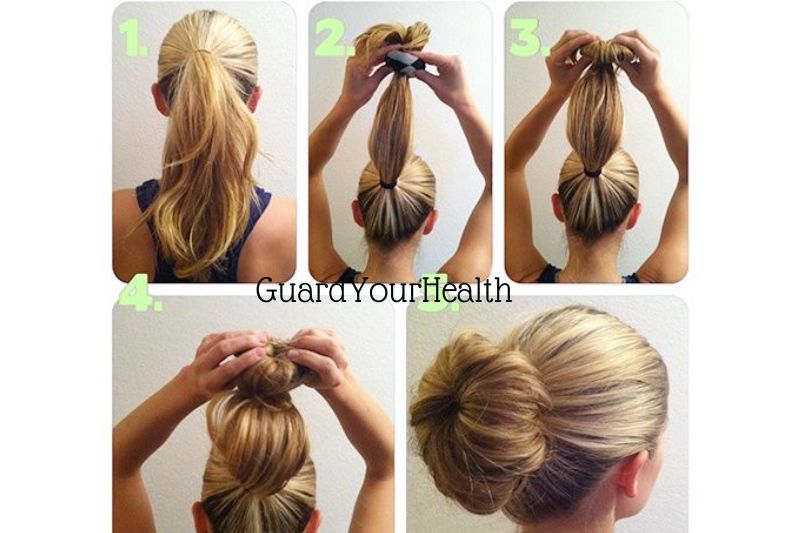
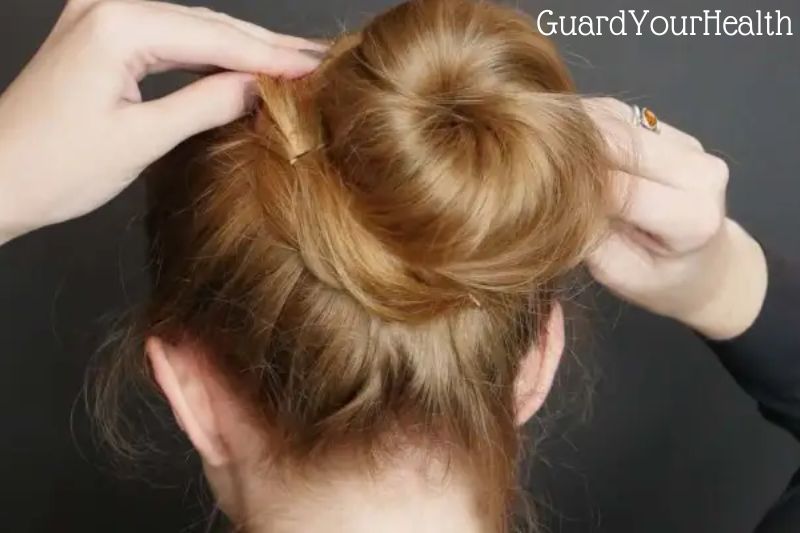
Third, you’ll use your hair to work on the sock. Put your ponytail’s hair through the sock donut you created in the first step. When your ponytail is tied with an elastic hair tie, slide the doughnut all the way up to that spot.
Next, flip your hair over and distribute it evenly over the sock, be sure to cover it completely. At this point, your head should be lowered. Use a second elastic hair tie to secure your hair in place. Make sure it is tight once more.
Step 4: Making the Last Adjustments
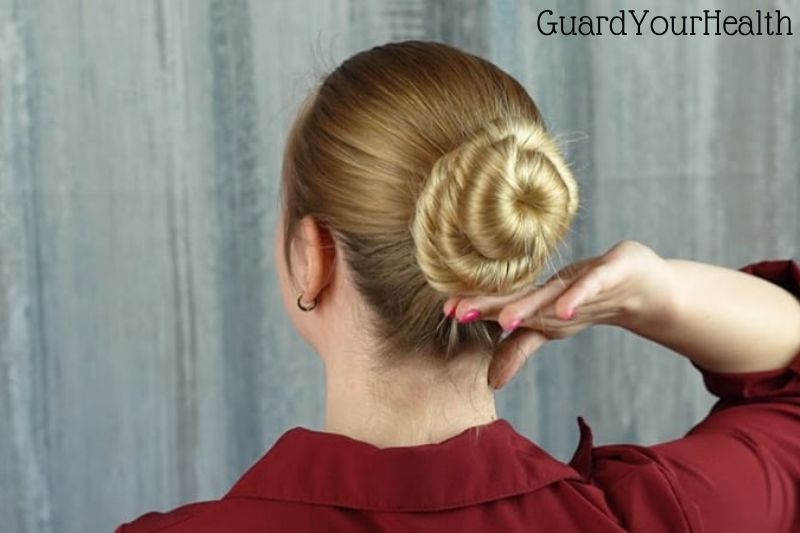
You then put the finishing touches on your hair. Twist your hair ends, then neatly tuck them behind the bun. I advise starting in one place and working your way around your entire bun in either a clockwise or counterclockwise fashion. Ensure that all of your hair’s tiny pieces are twisted together. They ought to be out of sight now.
Use bobby pins to tuck away any remaining loose ends. Apply hairspray or gel to your entire hairstyle at this point. This will prevent it from falling during demanding exercises involving several motions.
There you have it, then! A good army bun is only four simple steps away.
How to Make a Military Bun Without A Sock?
This doughnut bun is made for long, dense hair. Why? Because you have more room to work with and don’t need a sock to provide support. This could be challenging and take some practice if you have short hair. But if you don’t try, you’ll never know! So continue on if you want a military bun without using a sock.
Step 1: Prepare Your Hair
Give it a good once-over with a comb or hairbrush, making sure there are no tangles. Next, let your hair soak. Apply a towel to slightly dry. Your hair should be slightly damp but not fully dry. Use a spray bottle to dampen your hair if you don’t have time to soak it in the shower. To end, smooth down any leftover bumps in your hair using a comb or hairbrush.
Step 2: Make Your Bun.
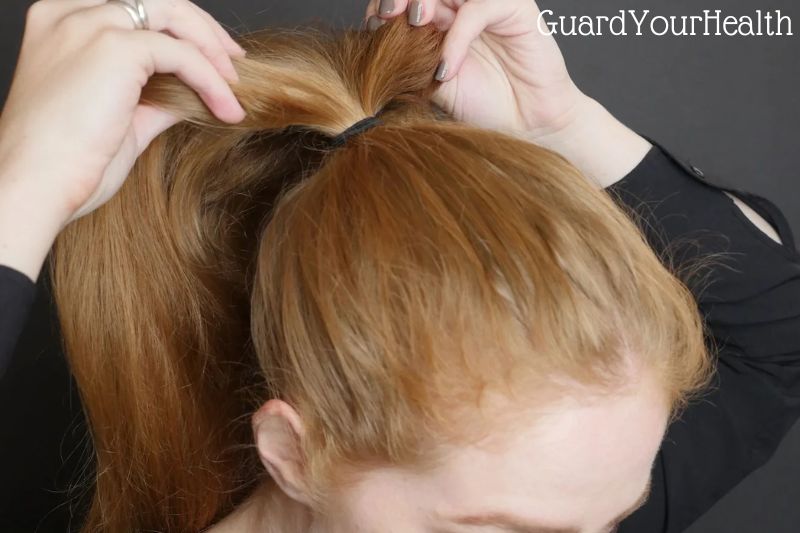
Make a ponytail with your hair and tie it off with an elastic band. You should wrap the hair tie at least three times to make sure it is secure. Before continuing, make sure it is close to your scalp. Use another elastic hair tie to provide an additional layer of support.
Afterward, raise your ponytail while giving it a twist with your fingertips. The base of your ponytail should be surrounded by what you have twisted. To avoid having to restart due to a burst, take your time and be cautious. Make sure there aren’t any lumps or lose strands once it has been completely wrapped.
Attempt to shake your head. Use extra bobby pins to secure the bun if you think it could fall out. To ensure that your bun is held in place, you can now put on a hairnet. If not, you can continue using gel to remove stray hair and hairspray to set everything.
Look for a serum that tames your hair if you have extremely unruly hair. Take a look at these items from well-known companies: Frizz Dismiss and Frizz-Ease by Redken.
This is a useful method for creating military buns. If you wrap your hair too long, it may become smelly and moldy since it is damp. Keep this in mind when participating in missions or training without taking regular showers.
How To Do A Military Bun With Long Hair:
Other Considerations
If getting a gorgeous perm at the salon before enlisting is something you’re considering, think twice. Layered and banged hairstyles are far more challenging to manage in a military setting.
Everyone doesn’t care whether you have gorgeous hair while you’re in intense training. But if it gets in the way, they’ll get upset. No one enjoys crazy hair in the arena, I assure you. Master your buns if you want to be taken seriously!
Bobby pins and elastic hair ties should always be available in ample quantities. When you need them most, they frequently vanish without a trace. It is very simple for them to slip off while training (and don’t count on anyone letting you stop and pick them up!).
You should always keep plenty of them on hand to take care of your hair, especially in the morning when you rush to the field.
Military Bun Ideas
It is recommended to stick to the military bun while you are on duty if you are in the military. On the other hand, you can enjoy yourself while on vacation playing with different bun designs. Here are some additional bun varieties to suit any attitude and situation.
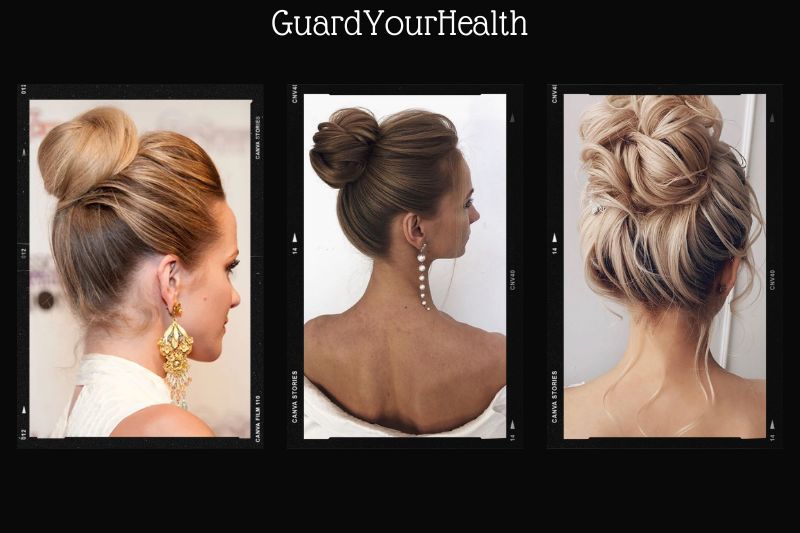
High Bun
This elegant and timeless bun is appropriate for any setting. It is advisable to incorporate some hair mousse into your hair roots in order to ensure that the bun stays in place for a long time.
Brush your hair out of your face, ponytail it, and fasten it with a hair tie. Use hair grips to hold the ponytail in place as you twist it around the hair tie, then hairspray to fix it.
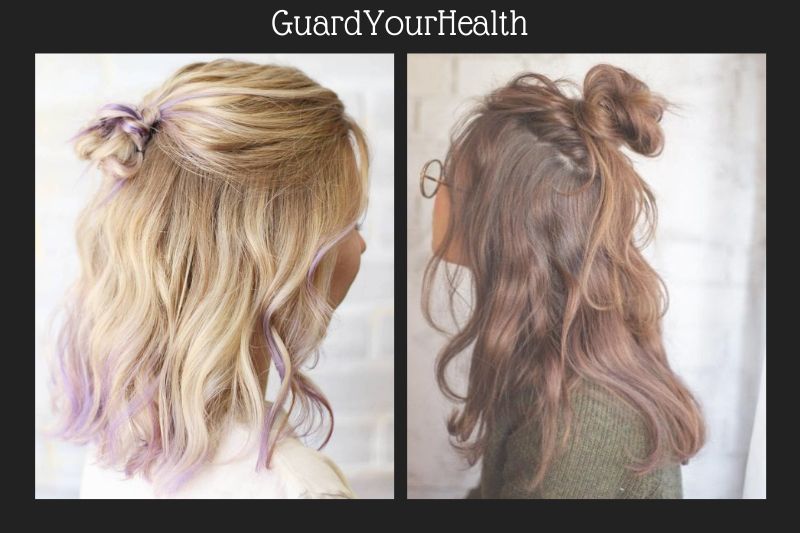
Half Up and Half Down
All hair lengths and varieties look great in this stylish bun, which is perfect for persons with short hair. It is a quick and simple way to keep your hair out of your face when you go to the gym or go out for a bike ride. This bun can be created quickly, and the rest of your hair may be styled any way you like.
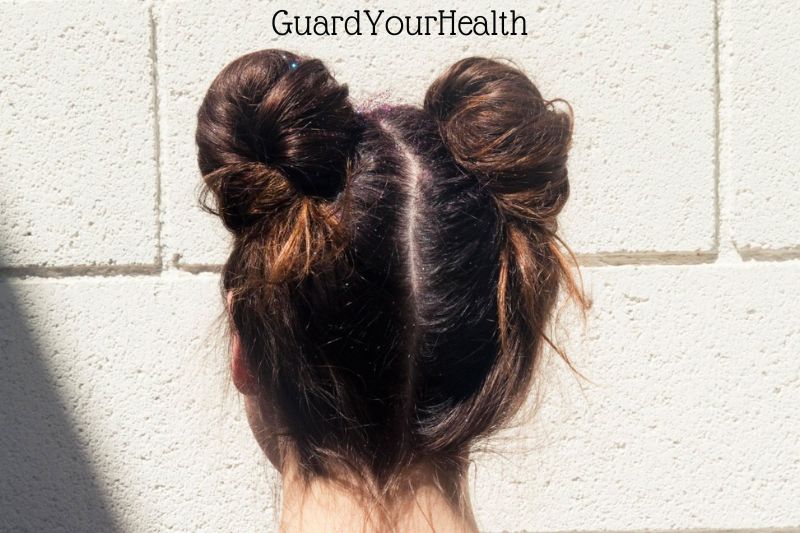
Pigtail Buns
This is a cute style that gives traditional pigtails a contemporary spin. Simply form two pigtails on either side of your head and twist them into buns to complete the look. Your hair will look fantastic in this style regardless of how long it is.
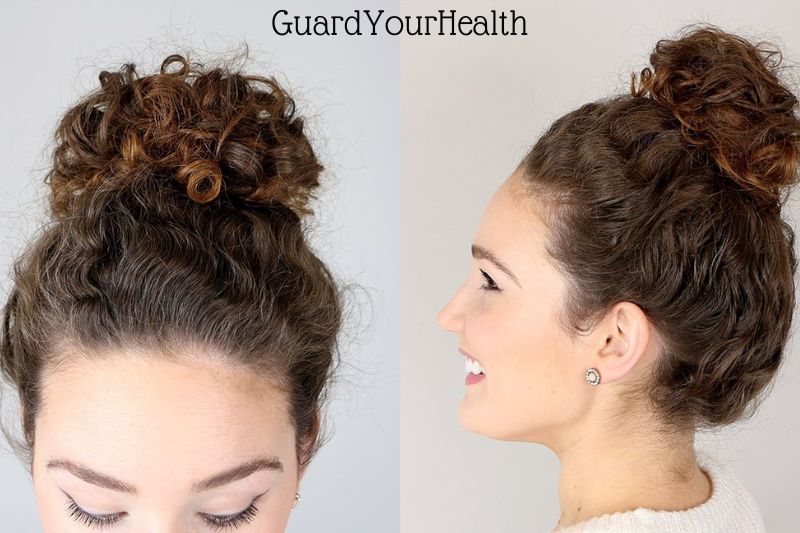
Curly Messy Bun
For those with curly hair who lack the time to style their curls, this bun is ideal. For semi-formal events, you can dress up this bun with some striking hair decorations.
Simply turn your hair forward and draw it up into a ponytail to complete the look. Utilizing an elastic hair tie, encircle the bun’s base with your ponytail.
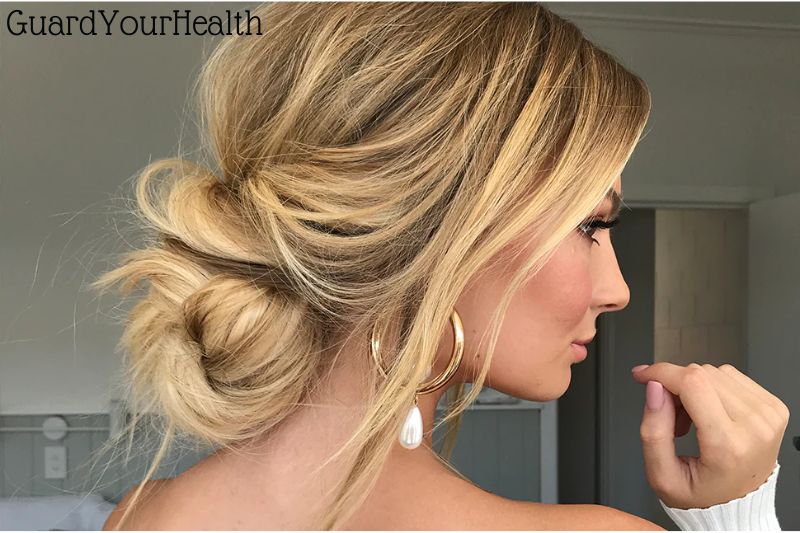
Messy Bun For Long Hair
This style looks fantastic on you if you have extremely long, silky hair. Let a few hairs on either side of your face hang free while you make a traditional hair bun. After your bun is finished, you can add some extra polish by curling the stray hairs.
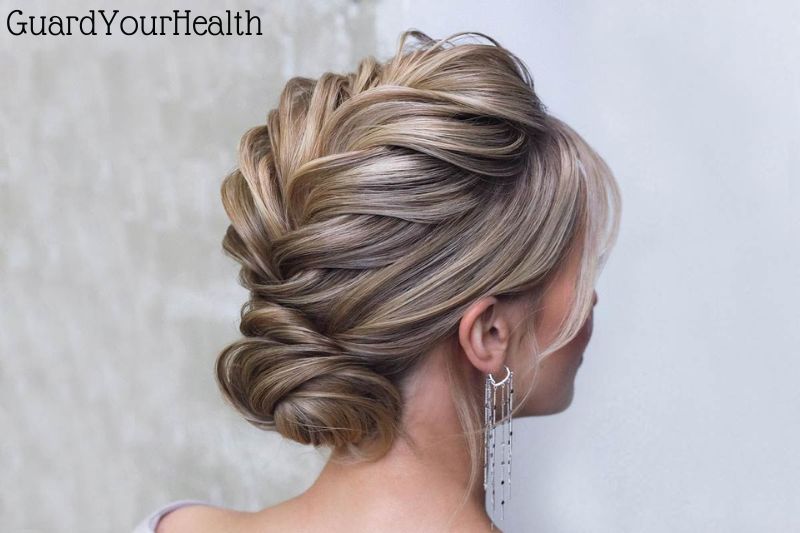
Braided Bun
This is your hairstyle if you can’t decide between a braid and a bun. You simply need to braid your hair in your preferred style and twist it into a bun.
For a highly stylish look, you may also make two shiny braids and twist them into a low braid. There are many creative variations for the braided bun, which is one of its best features.
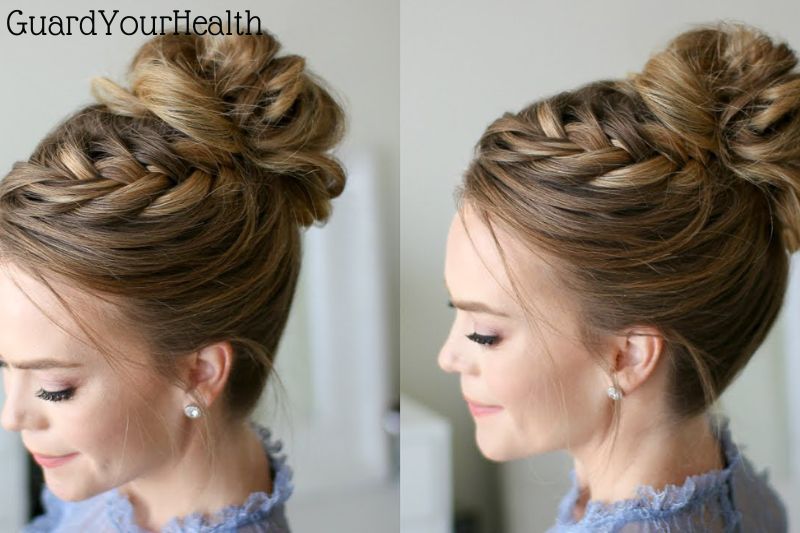
French Braid Bun
A French braid and a bun appear very stylish when worn together, making this a terrific hairdo for a big event. This style is perfect for you if you have really smooth, silky hair that is simple to braid and hold in place.
To control your mane, you might need to apply a little hair serum before you begin. Even if it requires a little more time and work, this hairdo will undoubtedly make you the belle of the event.
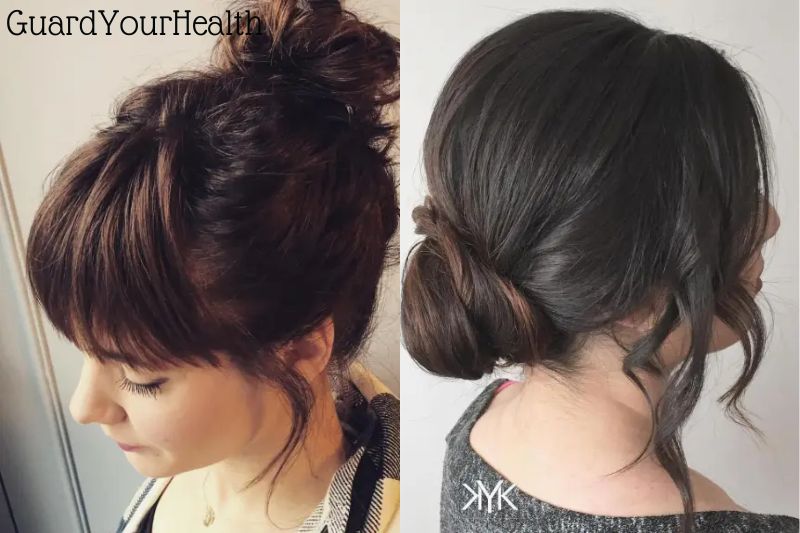
Bun With Bangs
With this attractive and entertaining hairdo, add a little additional bang to your bun. Your bangs will stand out the most once you’ve tied your hair up in a bun and lifted it off your shoulder. To determine which bun style makes your bangs look the coolest, experiment with a variety of styles.
Side Bun
This inventive twist on the traditional bun is sure to get lots of attention and display your wild side. Start by creating a loose ponytail on one side of your head and dividing it into two sections. Twist the two pieces together, beginning at the top and working your way down.
Now, tightly wrap the twisted ponytail into a bun. To keep your bun in place, use a couple of bobby pins. If you feel like it, you can take out a few hairs and style them into a sloppy bun. Spray some hairspray on your new design now to establish the style.
Conclusion
You’ve now read everything there is to know about making a military bun. I hope that was of some use. Post a comment if you have any additional queries or ideas to offer. We always enjoy hearing from our readers!

